Adding location info to your Instagram bio is a great way to let your followers know where you are, and it can also help with local marketing to reach potential customer.
If you’re not sure how to add your location to your bio, don’t worry – we’re here to help!
In this step-by-step guide, we will show you how to add a location to your Instagram bio, whether you’re in business account or personal.
In This Post
How to Add A Location to Instagram Bio for Business Account
Officially, Instagram only allows you to add a location if you’re on a business (professional) account.
With a business account, not only you can add location, but also phone number, email address, and action button like Book Now or Order Food.
So, if you’re on a personal account, you can switch to business account by going to your profile > Edit profile > Switch to professional account.
It can take up to 30 seconds to switch.
Once you’ve switched or created a business account on Instagram, follow these steps:
- Go to your profile and tap “Edit Profile“.
- Tap on Contact options.
- Select Business address.
- Fill the Street address, City / town, and ZIP code.
- Tap on the checkmark icon (Android) or Done (iOS) at the top right corner.
Now that you know how to add your location to Instagram bio using business account, let’s move on and talk about how to add a location on personal account.
How to Add A Location to Instagram Bio for Personal Account
If you don’t have a business account or you’re not ready to switch, don’t worry – there are several methods you can use to add a location info on your personal account as well.
1. Use Google Maps link as your website
The first trick is to use Google Maps URL and paste it on the website field of your Instagram profile.
- Open Google Maps and search for the place you want to add to your bio.
- Tap on Share button.
- Tap on Copy to clipboard (Mobile App) or Copy Link (PC)
- Go to your Instagram profile, then tap on Edit profile.
- Paste the URL on the “website” field.
- Make sure to paste the URL only.
- Tap on the checkmark icon (Android) or Done (iOS) at the top right corner.
This method is easier and faster, but you can’t include your website address because Instagram only allows users to place one link in their bio.
However, if you want to display more than one link, you can follow the second method below.
2. Use Linktree (or something similar)
Linktree is a great tool that allows you to add multiple links on your bio. It has paid and free version.
You can add unlimited links with the free version, which is more than enough for most people.
To add location with Linktree, follow these steps:
- Go to Linktree website and sign up for a free account. Make sure to verify your email address as well.
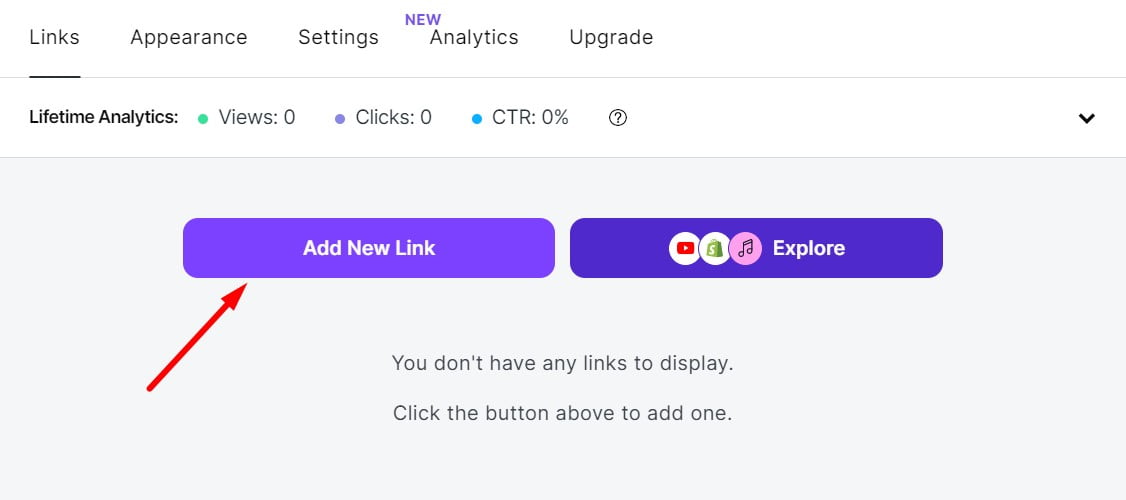
- After you logged in, click on Add New Link.
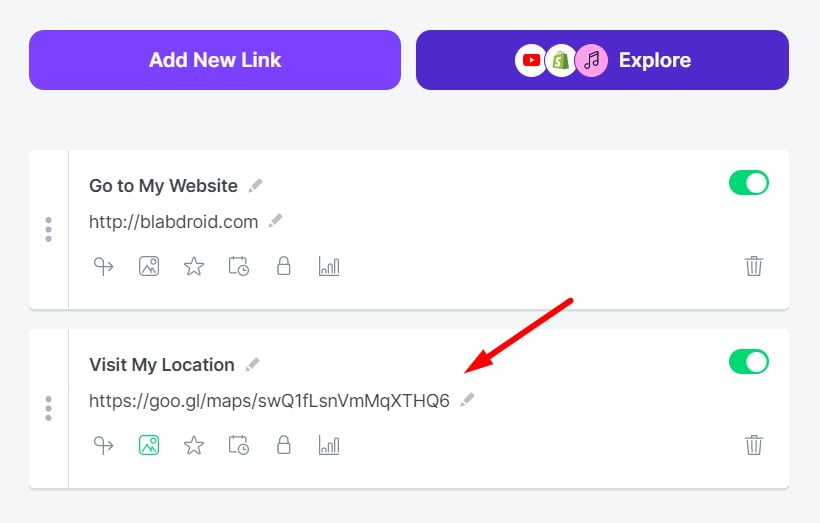
- Paste your Google Maps URL and give it a title like “Visit My Location.”
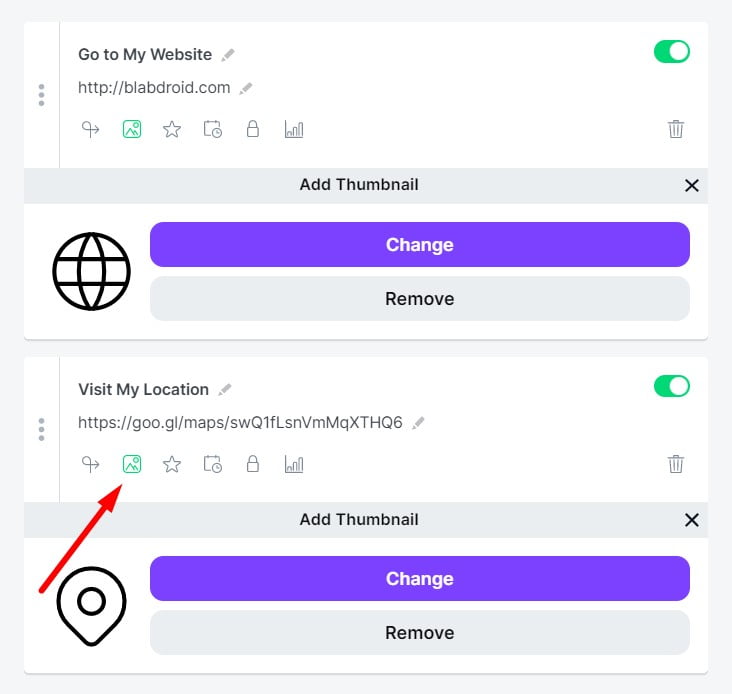
- Additionally, you can add a thumbnail to help your followers recognize it.
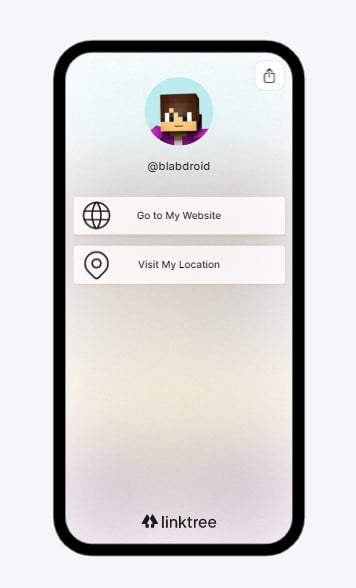
- When you’re done, copy your Linktree URL (eg. mine is https://linktr.ee/blabdroid)
- Go back to your Instagram profile and paste the URL on the “website” field.
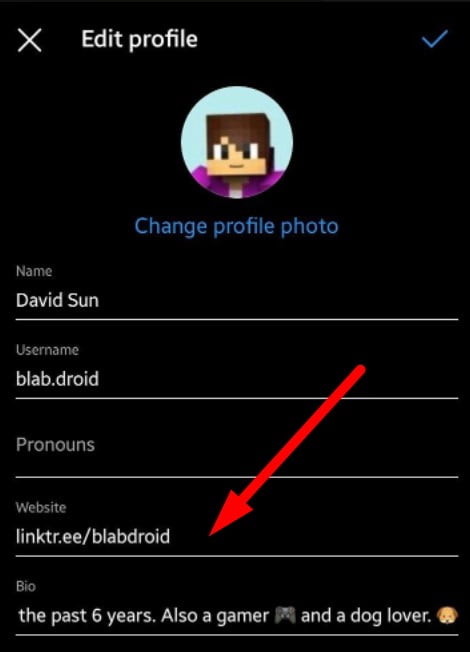
- Tap on the checkmark icon (Android) or Done (iOS) at the top right corner.
In this method, Linktree functions as a hub page where you can put as many links as you want while keeping the link short to display on your Instagram bio.
While I personally prefer Linktree because it is simple to use and free, you can also use other Linktree alternatives like Lnk.bio, Campsite.link, and Bio.fm if you need other options.
Wrap It Up
That’s it! Now you know how you can add a location to your Instagram bio, whether you’re on a personal or business account. I hope this guide is helpful and if you have any questions, please let me know in the comments below!
Related Posts
How to See Posts You’ve Liked on Instagram in 2023: A Step-by-Step Guide
How to Repost Instagram Stories from Anyone (Even If You’re Not Tagged)
How to Block Ads on Instagram: The Methods That Work (2023)
How to Get the Disney Pixar Filter on Instagram (Solved)
How to Change Instagram Bio on Mobile & PC (Solved)
How to Add Spaces to Instagram Bio & Caption in 3 Ways